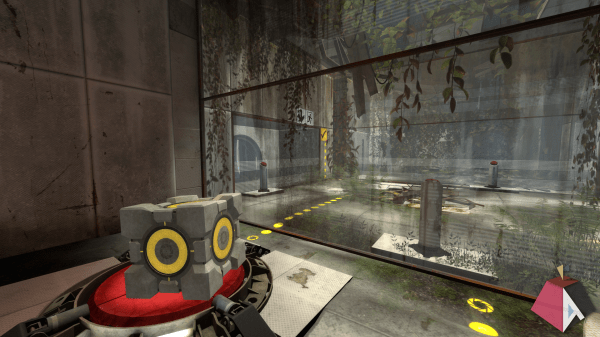
A screen capture from Portal 2 running in Asahi Linux. The Asahi Linux logo is in the bottom right of the image as a watermark. The environment is a concrete and glass building with elements of nature taking over the room on the other side of the glass from the character. A red circle with a grey cube above it is in the foreground.

Asahi Linux Brings Better Gaming To Apple Silicon

For those of you longing for better gaming on an Apple Silicon device, Asahi Linux is here to help.

While Apple’s own line of CPUs are relatively new kids on the block, they’ve still been around for four years now, giving hackers ample time to dissect their innards. The team behind Asahi Linux has now brought us “the only conformant OpenGL®, OpenCL™, and Vulkan® drivers” for Apple’s M1 and M2.

The emulation overhead of the system means that most games will need at least 16 GB of RAM to run. Many games are playable, but newer titles can’t yet hit 60 frames per second. The developers are currently focused on “correctness” and hope to improve performance in future updates. Many indie titles are reported to already be working at full speed though.

You can hear more about some of the fiddly bits of how to “tessellate with arcane compute shaders” in the video below. Don’t worry, it’s only 40 minutes of the nine hour video and it should start right at the presentation by GPU dev [Alyssa Rosenzweig].

If you want to see some of how Linux on Apple Silicon started or some of the previous work on hacking the M1 GPU, we have you covered.

Continue reading “Asahi Linux Brings Better Gaming To Apple Silicon”

Compact Dedicated News Reader Always Brings You CBC

Your phone or laptop will give you access to the vast majority of news in the world, in languages you can read and a few hundred you can’t. Maybe you only like one news source, though, and that news source happens to be Canadian Broadcasting Corporation (CBC). If that’s the case, you might like to give this project a look from [Ron Grimes].

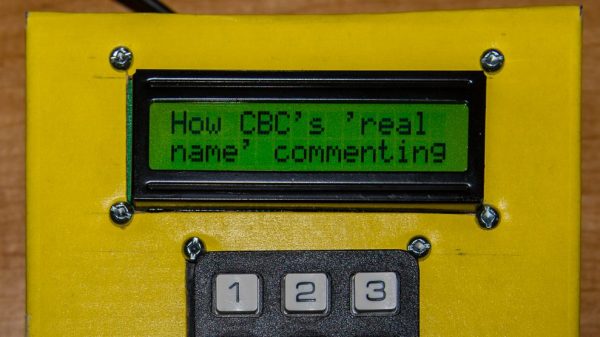
[Ron] built a device that does one thing and one thing only: it displays news stories from CBC. It’s built around a Raspberry Pi 2, and the project began when he wanted to interface a keypad just to see if he could. With that done, the next challenge was to integrate a 16×2 character LCD display of the HD44780 persuasion. With those two tasks completed, the question was simple — what to display? He figured tuning into the CBC news feed would be useful, and the Chocolate Box News Reader was born.

The device displays 29 news feeds in total, including the main top stories, world news, and Canadian regional news. It stores 15 news items per feed and will hang on to those stories even if the Internet drops. The reader will display the whole stash of stored news in around 90 minutes or so, and each stored item comes with more information if something strike’s [Ron’s] curiosity or interest. Files are on GitHub for the curious.

It’s a neat build, and we can imagine it being a smart item to have kicking around the house. It was also a great way for [Ron] to build on his familiarity with the Raspberry Pi, too. Meanwhile, if you’ve got your own nifty Pi-based projects—or others!—don’t hesitate to drop us a line!

Making PCB Strip Filter Design Easy To Understand

We’ve always been fascinated by things that perform complex electronic functions merely by virtue of their shapes. Waveguides come to mind, but so do active elements like filters made from nothing but PCB traces, which is the subject of this interesting video by [FesZ].

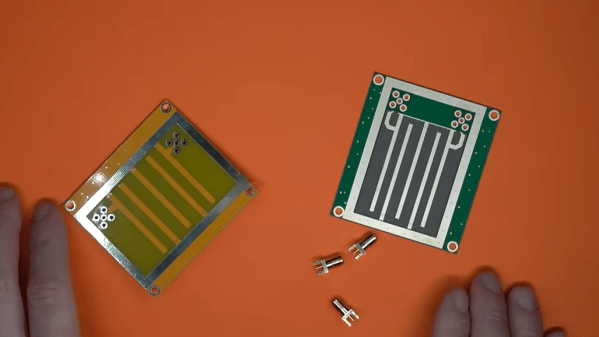
Of course, it’s not quite that simple. A PCB is more than just copper, of course, and the properties of the substrate have to be taken into account when designing these elements. To demonstrate this, [FesZ] used an online tool to design a bandpass filter for ADSB signals. He designed two filters, one using standard FR4 substrate and the other using the more exotic PTFE.

He put both filters to the test, first on the spectrum analyzer. The center frequencies were a bit off, but he took care of that by shortening the traces slightly with a knife. The thing that really stood out to us was the difference in insertion loss between the two substrates, with the PTFE being much less lossy. The PTFE filter was also much more selective, with a tighter pass band than the FR4. PTFE was also much more thermostable than FR4, which had a larger shift in center frequency and increased loss after heating than the PTFE. [FesZ] also did a more real-world test and found that both filters did a good job damping down RF signals across the spectrum, even the tricky and pervasive FM broadcast signals that bedevil ADSB experimenters.

Although we would have liked a better explanation of design details such as via stitching and trace finish selection, we always enjoy these lessons by [FesZ]. He has a knack for explaining abstract concepts through concrete examples; anyone who can make coax stubs and cavity filters understandable has our seal of approval.

Continue reading “Making PCB Strip Filter Design Easy To Understand”

Raspberry Pi OS’s Wayland Transition Completed With Switch To Labwc

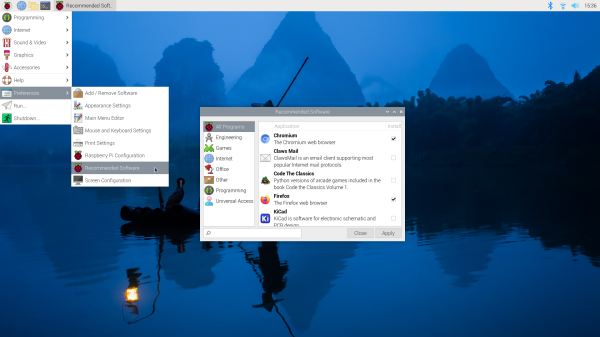
With the latest release of Raspberry Pi OS (formerly Raspbian) the end of the X Window System has become reality, completing a years-long transition period. Although this change between display servers is not something which should be readily apparent to the casual user, the change from the client-server-based X11 protocol to the monolithic Wayland protocol has a number of implications. A major change is that with the display server and window manager no longer being separate units, features such as network transparency (e.g. remote X-sessions) are no longer a native feature, but have to be implemented separately by e.g. the Wayland compositor. Continue reading “Raspberry Pi OS’s Wayland Transition Completed With Switch To Labwc”

Interfacing Old Burglar Alarm Sensors Into HomeAssistant

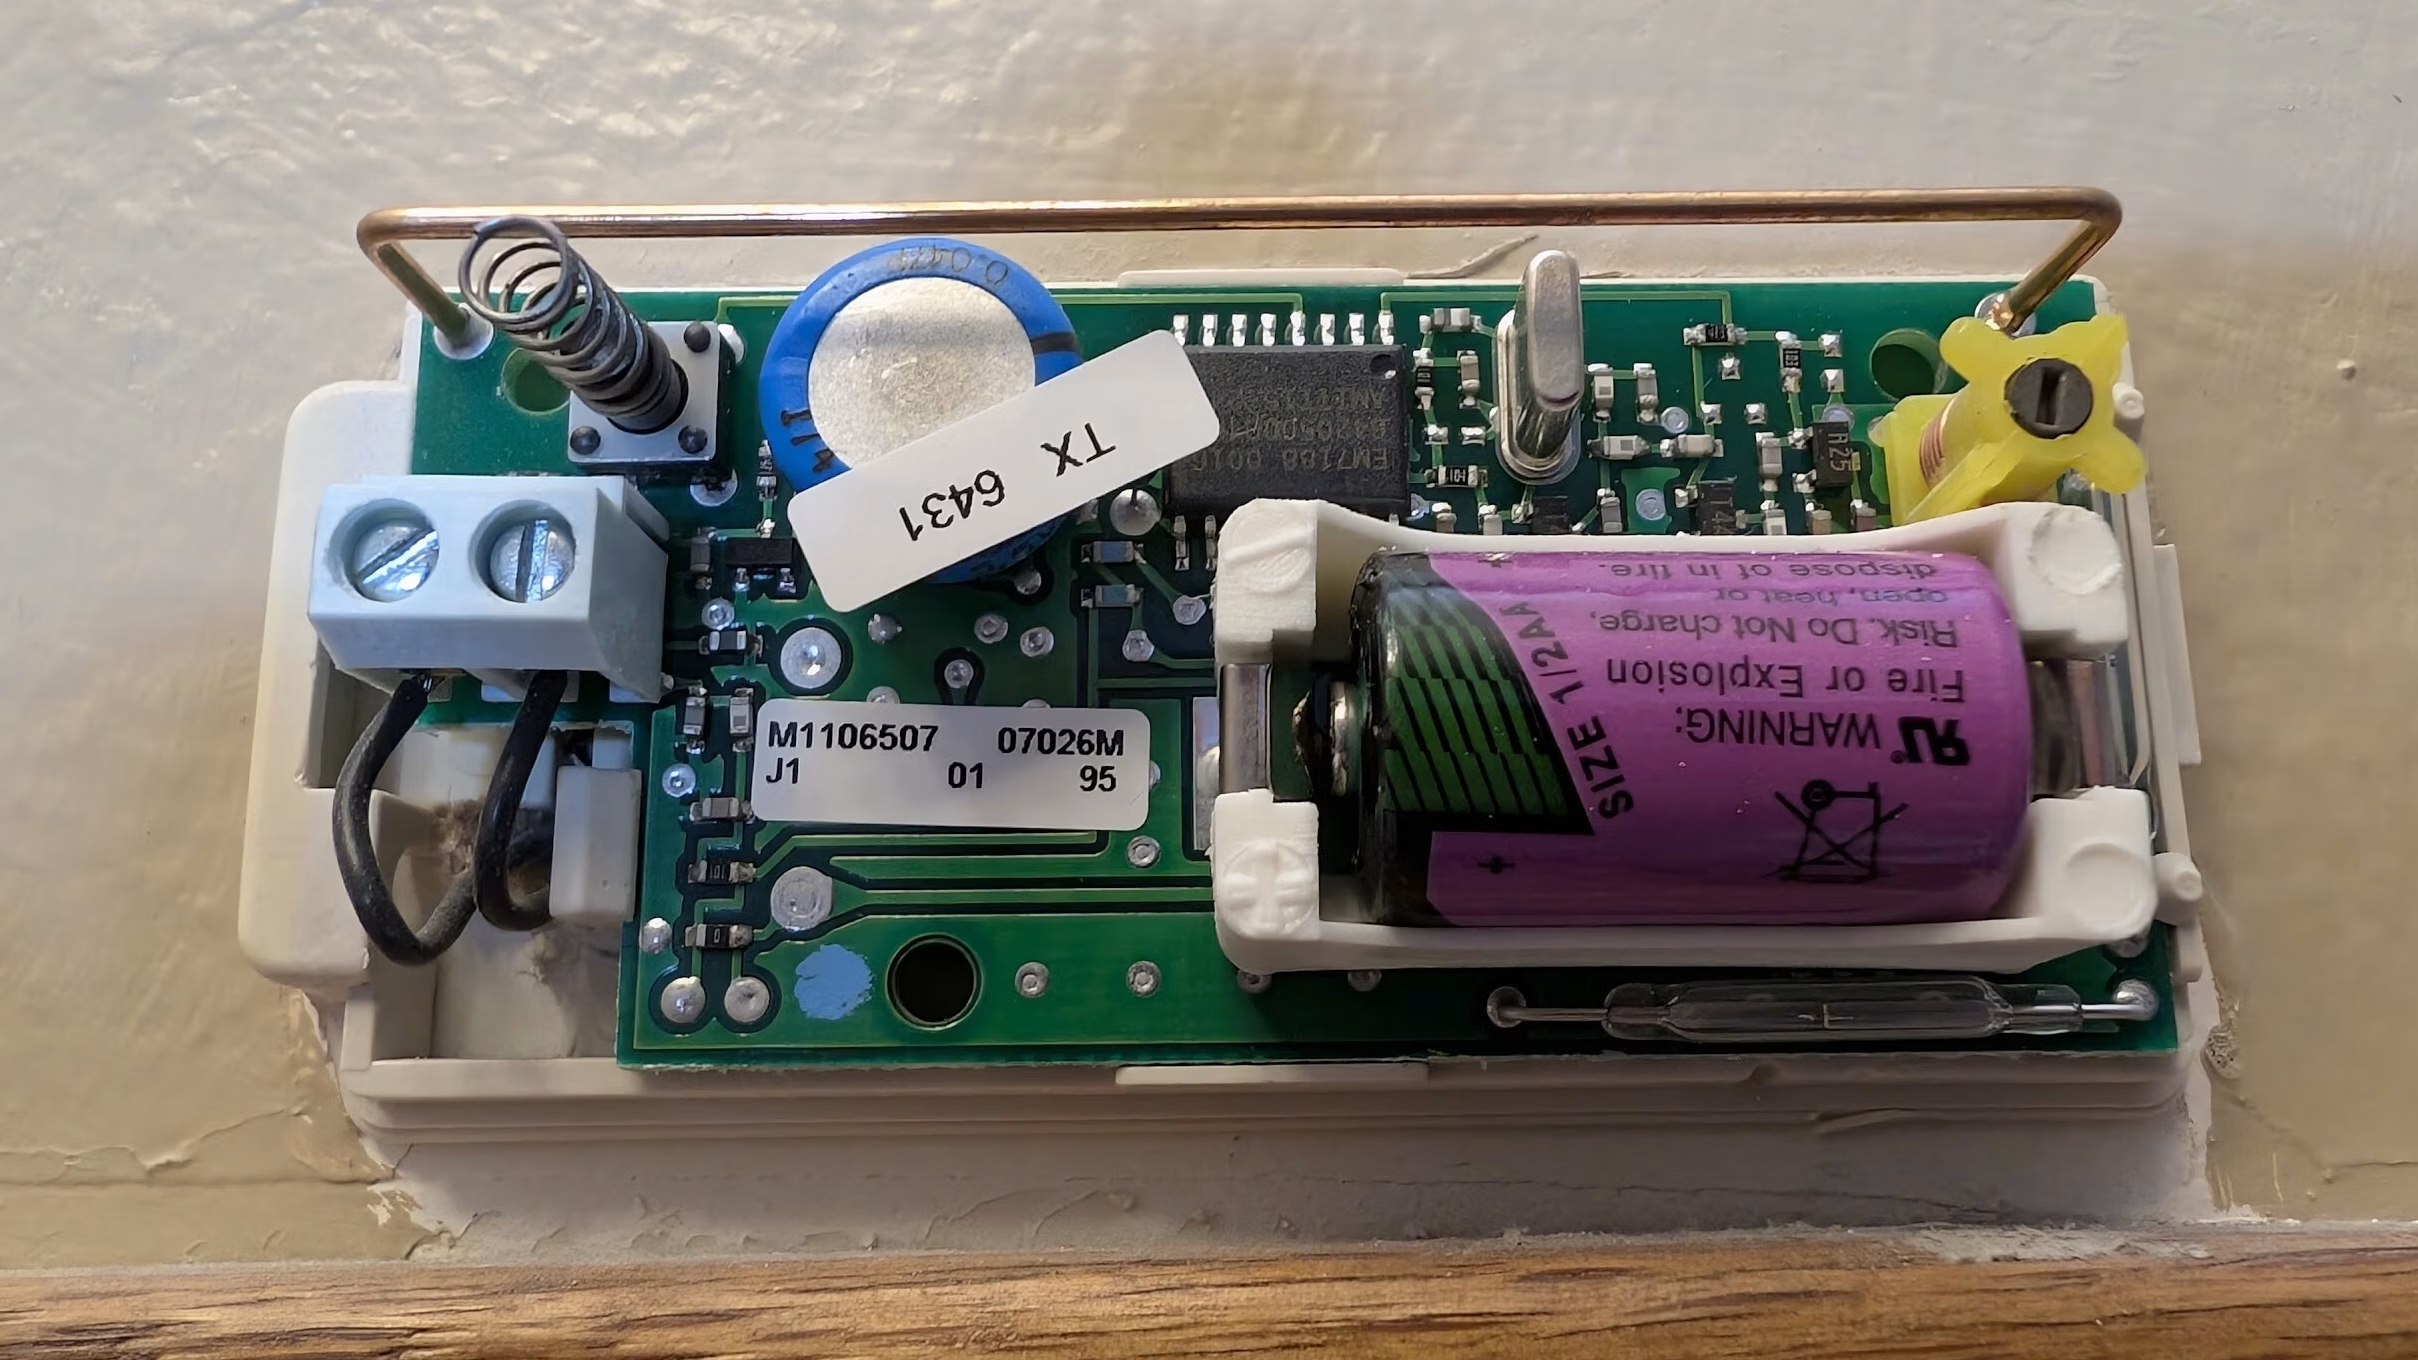
The annoying thing about commercial smart home gear is its lack of interoperability. HomeAssistant is very flexible though, and it’s easy to use all kinds of gear—even stuff you bodge together yourself. [Jeff Sandberg] demonstrates that ably with his project to use ancient 1990s burglar alarm sensors in his modern smarthome setup.

The sensors in question are from an old GM Interlogix security system. The sensors themselves sit on doors or windows. They use magnets and a reed switch to sense if the door or window is opened. If so, they send out a radio message saying as much. All [Jeff] had to do was catch those messages and translate them for HomeAssistant.

To listen in on the sensors, [Jeff] employed a Nooelec NESDR—a software defined radio that could pick up the 319.5 MHz signals. The NESDR runs a tool called RTL_433, which can decode the sensor signals, and spit out MQTT messages to interface with HomeAssistant.

Much of the hard work was done already for [Jeff]—he just had to lace together the components. This is just a testament to the hard work by people in the HomeAssistant and SDR communities for figuring all this out and putting the tools online.

We’ve seen some neat HomeAssistant builds before, like this neat home control terminal. If you’re cooking up your own smarthome hacks, don’t hesitate to let us know!

Turning A Quansheng Handheld Into A Neat Desktop Transceiver

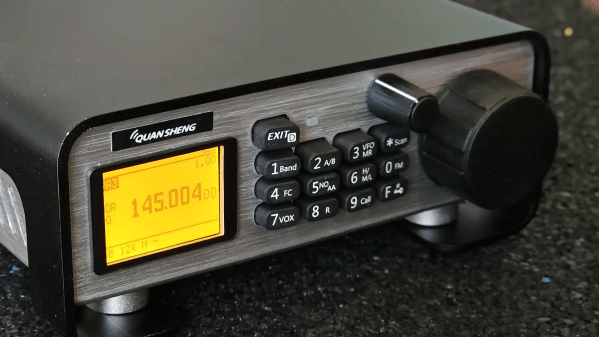
The Quansheng UV-K5 is a popular handheld radio. It’s useful out of the box, but also cherished for its modification potential. [OM0ET] purchased one of these capable VHF/UHF radios, but got to hacking—as he wanted to use it as a desktop radio instead!

This might just sound like a simple reshell, but there was actually a bit of extra work involved. Most notably, the Quansheng is designed to be tuned solely by using the keypad. For desktop use, though, that’s actually kind of a pain. Thus, to make life easier, [OM0ET] decided to whip up a little encoder control to handle tuning and other control tasks using an ESP32. This was achieved with help from one [OM0WT] and files for that are on Github. Other tasks involved finding a way to make the keypad work in a new housing, and how to adapt things like the audio and data module and the speaker to their new homes.

Despite the original handheld being much smaller than the case used here, you’d be surprised how tight everything fits in the case. Still, the finished result looks great. We’ve seen some other adaptable and upgradable ham radio gear before, too. Sometimes custom is the way to go! Video after the break.

Continue reading “Turning A Quansheng Handheld Into A Neat Desktop Transceiver”

The Woodworker’s Cyberdeck

Computers were supposed to be personal, customizable, and cool. At times, in this cold modern world, we forget that. However, the cyberdeck scene is chock full of people building creative, original computers that suit their own tastes, aesthetics, and needs. [DIY Tinkerer] is one such individual, and he made the most of his woodworking skills when it came time to build his own cyberdeck!

The technological basics are along the lines of what we’re used to in this field. The build is based around a Raspberry Pi 4, with [DIY Tinkerer] selecting an 8 GB model for his needs. It’s paired with a 9000 mAh onboard battery, and there’s a power jack on the front to let the thing run on anything from 5 to 20 volts DC. For ease of use, there’s a multi-memory card reader and several USB 3 ports available.

The rest of the video focuses on the woodworking side of things. [DIY Tinkerer] shows us how he managed to build a new housing out of a rugged plastic case that would also be practical to use. The final product is both functional and attractive, and comes with an oscilloscope built in to boot! It came a long way from his earlier build, too.

We’ve seen a great load of cyberdeck builds over the years.

Continue reading “The Woodworker’s Cyberdeck”